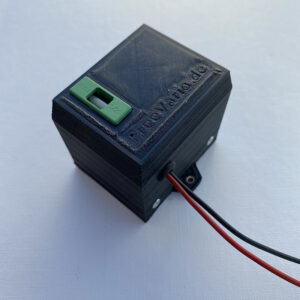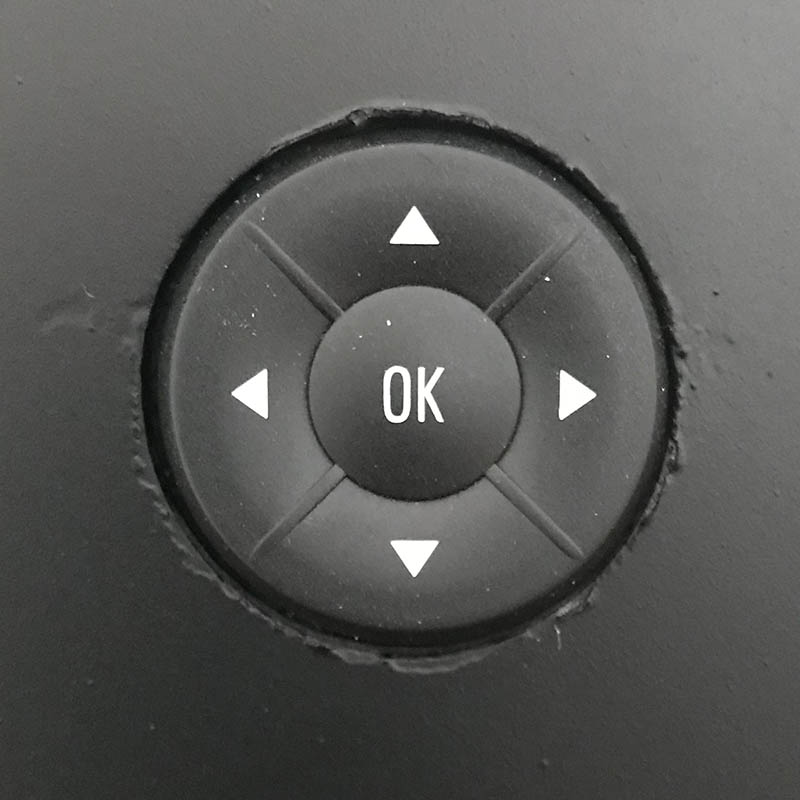
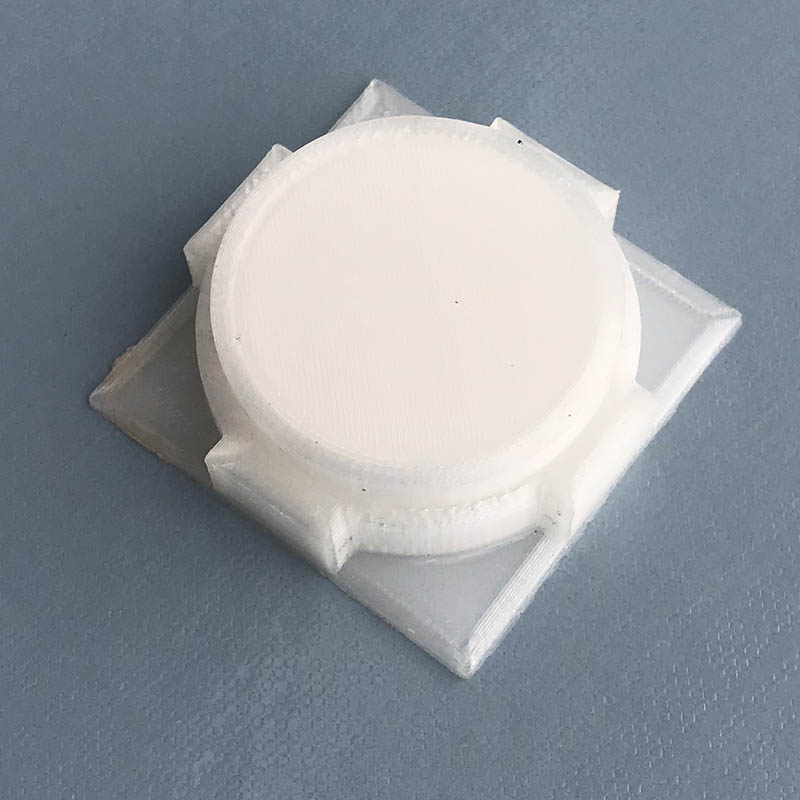
Dieses Tastenfeld stellt eine Alternative zum Drehencoder oder zur Knüpelfernbedienung dar. Es verfügt über die 4 Richtungstaster, mit denen ihr sowohl im OpenVario-Menü, als auch im XCSoar-Menü navigieren könnt. Die OK Taste verfügt über drei Funktionen. Ein normaler Klick entspricht Enter, ein Doppelklick entspricht ESC und mit einem langen Klick kommt ihr in XCSoar ins Menü. Dadurch ist die Bedienung des Openvarios besonders intuitiv. Das ganze ist vor allem dann sehr praktisch, wenn man das OpenVario administrieren, oder wenn man Flüge herunterladen möchte.
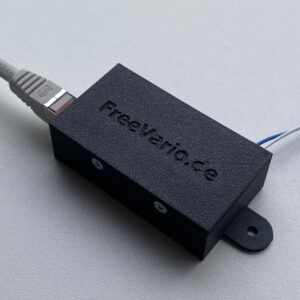
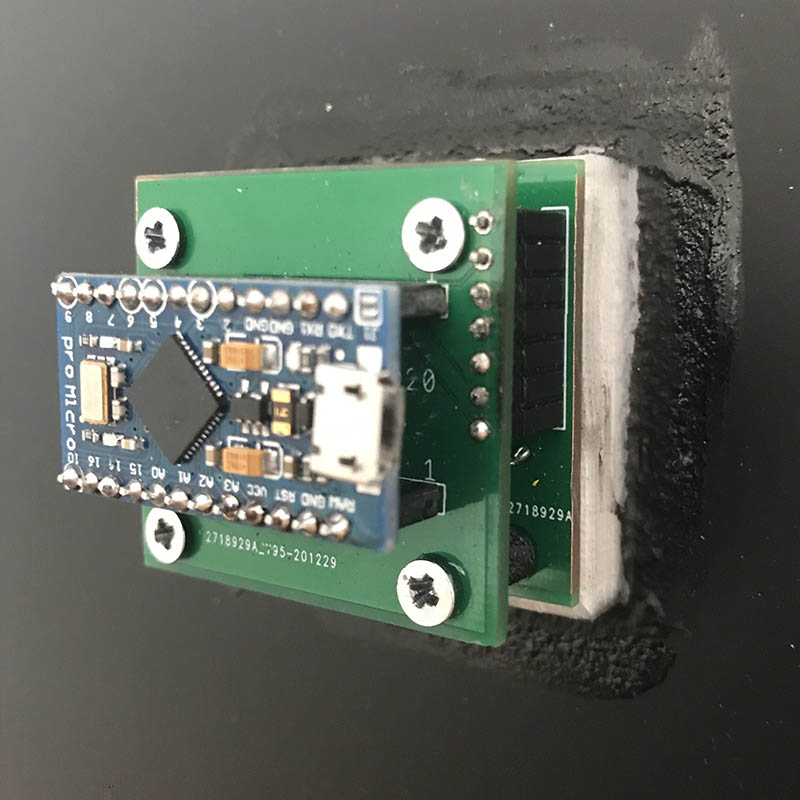
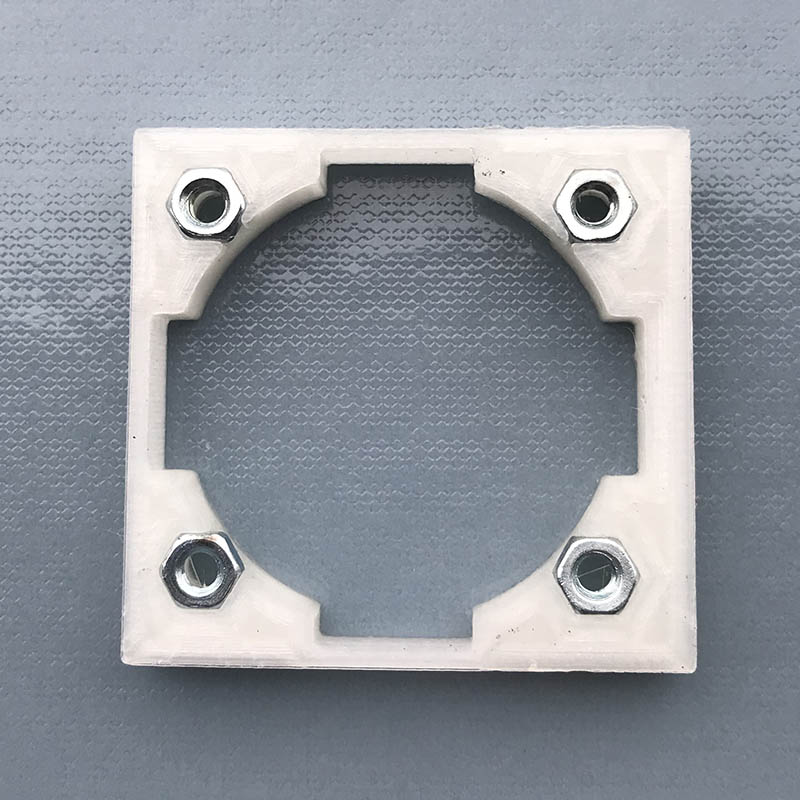
Der Taster hat einen Durchmesser von 30mm, die Maße der Platinen sind (LxBxH) 42mm x 40mm x 34mm. Angeschlossen wird das Tastenfeld mit einem Micro-USB-Kabel. Die Montage erfolgt, indem ihr mit einem Stufensenker in das Instrumentenbrett ein Loch mit 30mm Durchmesser bohrt. Von Hinten wird dann ein Halterahmen mit Hilfe einer Montagehilfe ausgerichtet und mit Epoxydharz aufgeklebt. Auf diesen wird später das Komplett zusammengebaute Tastenfeld aufgeschraubt.
Für alle denen der Platzbedarf zu groß ist, gibt es hier alternativ einen kleinen Daumenknopf.
Die Einbauanleitung, sowie weitere Unterlagen findet ihr im Downloadbereich.
This keypad represents an alternative to the rotary encoder or the stick remote control. It has 4 direction buttons with which you can navigate both in the OpenVario menu and in the XCSoar menu. The OK button has three functions. A normal click corresponds to Enter, a double click corresponds to ESC and a long click takes you to the menu in XCSoar. This makes the operation of the Openvarios particularly intuitive. The whole thing is especially useful if you want to administer the OpenVario or if you want to download flights.
The button has a diameter of 30mm, the dimensions of the boards are (LxWxH) 42mm x 40mm x 34mm. The keypad is connected with a micro USB cable. The assembly is done by drilling a hole with a 30mm diameter in the instrument panel with a countersink. A holding frame is then aligned from the rear with the help of an assembly aid and glued on with epoxy resin. The fully assembled keypad will later be screwed onto this.
For those who do not have enough space, there is an alternative to this with a small thumb button.
The installation instructions and other documents can be found in the download area.